Learning how to build a BMX has never been easier. We have reached a time where thought has been put in, and standards are being stuck to so that every component fits together smoothly. If you are using a hammer or mole grips, you can pretty much bet that you are doing it incorrectly.
The most important thing to remember when building a BMX is grease, grease makes everything work and more importantly makes everything a lot easier to come off, in the unlikely event that you make a mistake.
Internet or shop bought BMX
If you have bought a bike from the internet, it will generally arrive in the box it was shipped from Taiwan in; although some internet stores will now build your shiny new bike up and sent it already built in a much larger box. The Taiwan boxes are smaller to allow more to fit in containers, and therefore keep the price of your new bike down.
When a bike arrives in a standard box you will generally need to turn the stem and forks, forks are the wrong way around to make the box size shorter, this is why you see so many bikes with their forks the wrong way round so do not make a mistake and have your forks the right way round. The easy way to know this is to look at the blades at the end of the fork, they should be facing forward. If they are facing backward, you will continuously be kicking your front wheel.
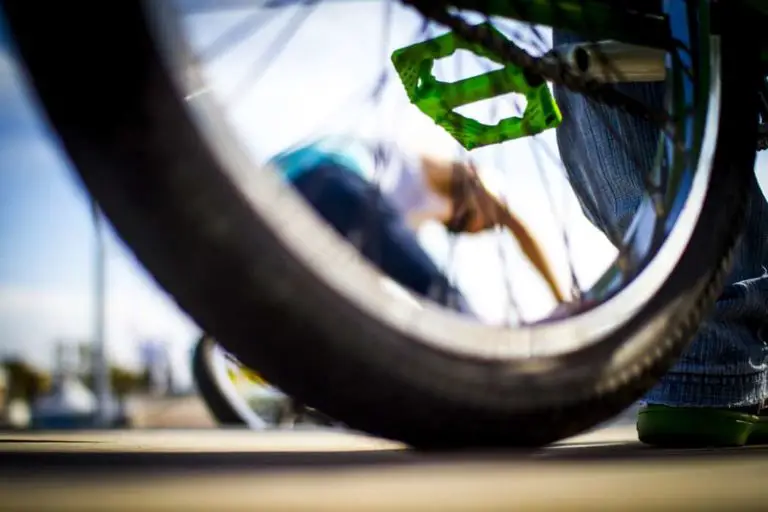
Now you will want to fit your front wheel. If you have female bolts, put a little grease on the threads. Try and use a ring spanner even if your female bolts have a hex cut out. If you have wheel nuts putting some grease in the nuts will mean that if you accidentally over tighten your nuts, you will not kill the threads on your wheel axle. We want to stop the wheel moving from side to side but not enough that we are pinching your forks in.
Getting pumped on your new bike
I would now pump up your tyres. Look on the sidewall of the tyres, and you will find a recommended tyre pressure range. The higher the pressure you use, the faster your bike will roll, but it will be less comfortable. The lower the pressure, the slower your bike will be, but it will be comfy and at more risk of punctures.
You will also need to fit your pedals. This is the other part most people get wrong. Pedals should be put on with your fingers; if you are using a 15mm pedal wrench or spanner to get them on straight away, you are making a mistake. Look at the pedal axles; they should have an L or an R on them.
This gives you a clue as to which side to put them on. What you also want to do is grease the threads, ideally with copper slip. Copper slip works amazingly well for pedal axles as it does not dry out and saves you from getting a hernia when you try and remove the pedals. If you do not have some copper slip, use grease and do not use it sparingly. You can wipe excess off when you are finished.
If you do not have grease, do not fit your pedals. Go and buy some. Make your life easier by doing things correctly at the start. Also, remember that your pedal threads are not the same. Your right-hand pedal will have a right-hand thread; this means your pedal goes on clockwise and comes off counter-clockwise. Your left-hand pedal will have a left-hand thread; this pedal will go on counter-clockwise and will be removed by turning it clockwise.
Getting barred
You will also in the majority of cases have to fit your bars. So your stem is now facing forward, along with your forks. Take a 5 or 6mm hex and remove the faceplate. Have a look at the bolts, fit a small bit of grease on them. Not enough though to leak out here. Some brands may have already done this for you; this is a good sign.
Now look at your bars, you should see some knurling on them. This is to grip the bars to your stem. If it seems a bit shiny, grab some emery cloth and give them a rub. Now take a clean (no grease can be on this) cloth and wipe the paint fragments off. Your stem will now find it easier to grip your bars; no one wants their bars moving.
Place them in the hollow in the stem for them; I like to rest them with their crossbar on the top tube of the frame. Place the stem top cap over them. Start to put your bolts back in, again you should be able to do this finger tight. Start with your top right bolt, then your bottom left, top left and finally bottom right.
Tighten just enough to have the plate on. Now position your bars, your bars are all down to your own preference, but the best place to start is with your bars being in line with your front hub. This is relatively easy to see from the side of your bike. Now grab your hex and start tightening your bolts evenly. Using the same pattern as above.
We need to torque
Ideally, you will have a torque wrench and tighten to manufacturers instructions. If you do not have a torque wrench, use a short hex key and go as tight as you can without undue stress. If you are going red in the face, it is way too tight. Too tight will deform your bars and their new oval shape will always be loose and allow them to move.
Now you have your bars done I would tighten your headset. The side bolts on your stem should still be loose. Line your stem up with your front wheel. They should both be centered. You will find if you push the bars the front of the bike will be loose, so we need to fix that. Looking down you will see a bolt going down from your stem into the fork.
Take this bolt out, grease it, put it back in slowly. You should start to feel your fork being pulled up. Then there should be a small bit of resistance. Stop and see if there is any front to back movement. If there is some movement, tighten the bolt a little bit more, about a quarter turn, until there is none. Your headset should have been greased at the factory so it should spin smoothly if it feels like it is grinding. Stop.
Take your stem off by loosening the bolts at the side. Take the top bolt out and pull your stem off. Now you should have spacers then the headset. Place these parts down in the order they came off. When you see the bearing add some grease. Lift your frame, and the fork will start to come out, don’t let it drop but put a finger of grease around the bottom of the headset.
Now let your frame back down on top of the fork and put your bits back on in the opposite order of them coming off. Then tighten the top bolt in the same manner. Wipe any excess grease that may be getting squeezed out away. You will also find that your headset might need bedding in, so get out and ride your bike. So it will develop a bit of play after a few rides. Just loosen the stem side bolts and give the top bolt a little turn to the right and it should all be fine. Tighten your stem back up.
Time to sit down
Now to put your seat and seat post on your bike. These mainly come as a one-piece unit on modern complete bikes. Again dig out your grease. Smear a load of grease around your seat post, put it in your frame and set to the desired height. Now get a 5 or 6mm hex and tighten your seat clamp bolt. These are mainly built into the frame now and make sure again that you do not over-tighten. Enough to hold the seat post in place and not enough to start crushing things.
You will now need to look at your brake. Quite often these are actually set up pretty well by the factory, but it is worth checking before you have any issues. If you find your brake lever is traveling a long way before the brake pads touch the wheel you will need to tighten the cable.
This is easier than you think. You will see a bolt that the cable travels through on the brake. It can either need a hex or a spanner, so look carefully. Then loosen it (left turn) a little bit, pull the cable through and keep holding it. Tighten the anchor bolt back down (right). This should now have a tight brake. The cable will stretch over your first few sessions, so this will need to be done again.